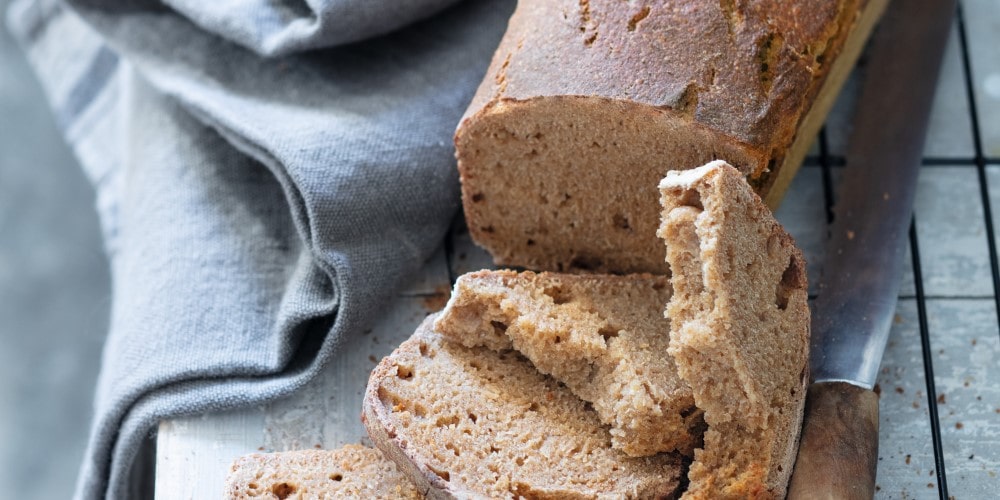
Pain moulé à l’engrain | Einkorn Sandwich Loaf
Makes: 1 loaf
Ingredients
- 1¾ tsp (0.3 oz./9 g) salt
- Scant 1½ cups (11.75 oz./330 g) water
- 4 cups (1 lb. 2 oz./500 g) einkorn flour + more for the pan
- 5.25 oz. (150 g) refreshed levain Neutral oil, for the pan
Directions
1In the bowl of a stand mixer fitted with the dough hook. Knead for 3 minutes on speed 1, followed by 5 minutes on speed 2, or until you obtain a smooth dough.
2Transfer to a dough tub or a separate large mixing bowl, cover, and let rise at room temperature for 1–2 hours (bulk fermentation*).
3Lightly grease the loaf pan with oil and dust it with flour. After the first rise, dust the sides of the tub or bowl with flour and gently ease the dough onto a floured work surface with the help of a bowl scraper. Shape into a bâtard and place in the prepared loaf pan. Cover and place in the refrigerator for 14–18 hours.
4The next day, remove the dough from the refrigerator and let sit at room temperature for 1 hour (proofing*).
5Meanwhile, place a rack at the lowest oven position and place another rack directly above it. Place an empty heavy-duty baking sheet, ovensafe skillet, or drip pan on the lower rack and preheat the oven to 500°F (260°C/Gas Mark 10). Bring 1 cup (250 ml) of water to a simmer.
6When the dough passes the poke test* (see below), place the bread, without scoring, in the oven, then carefully pour the simmering water into the baking sheet, skillet, or drip pan to create steam and quickly close the oven door.
7Bake for 20 minutes at 500°F (260°C/Gas Mark 10), then lower the oven temperature to 430°F (220°C/Gas Mark 7). Continue to bake for an additional 20 minutes, until golden.
8Let the bread cool for 5 minutes in the pan, then turn it out onto a rack and let cool completely.
POKE TEST
If the proofing time is too short, the dough won’t build up enough CO2 to rise correctly during baking. Conversely, if the proofing time is too long, the gluten network weakens and the bread may fall during baking. Even professional bakers use the poke test to evaluate the dough’s resistance and determine when it is ready for the oven. Gently press your finger about ½ in. (1 cm) into the dough. If the dough is ready to bake, it will spring back slowly but retain a small indentation where you poked it. If no indentation forms, the dough is not ready; leave it to proof a little longer. If the indentation doesn’t spring back at all, it’s too late—the dough is over-proofed.
Extracted from Upper Crust: Homemade Bread the French Way by Marie-Laure Fréchet (Flammarion, 2021).
Photography © Valérie Lhomme.
Share to: Facebook Twitter LinkedIn Email
More in Breakfast, Dinner, Loaf, Lunch, Recipe, Sandwhich
Related Posts